Have you ever been in a situation where you wish you had had a device tailored to your needs? Over the years I have reviewed various Air Quality Monitors but each time they lack something which will make them unique to me. Don’t get me wrong each device has its features and characteristics, some of them are amazing and some of them not very useful. As a result, I decided to build my DIY AQM. I couldn’t have done it without Electronza and Teodor Costachioiu help with coding, he is a brilliant coder/engineer. I absolutely recommend you to check his blog you will find a lot of interesting projects.
There will be a series of posts which I will try to implement more sensors and features over the time and build a complete AQI solution including a 3D case which you will be able to download and print. The code is open source and it can be found at github as well. I want to get some essential characteristics and sensors which will help me study the air better.
Version 0.1
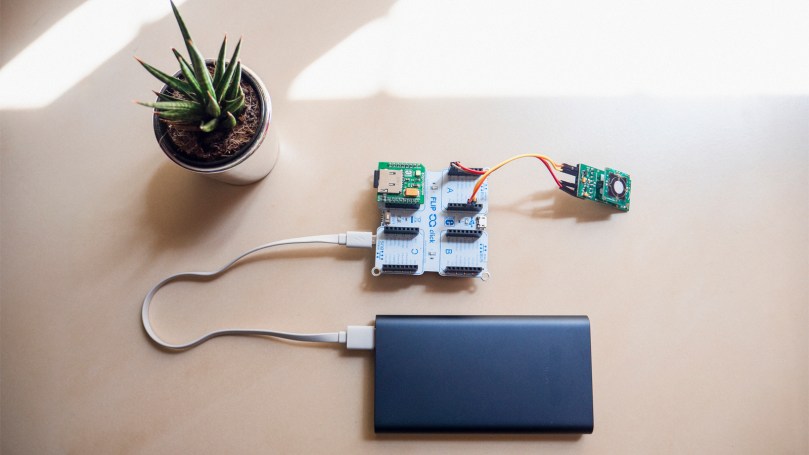
For the first version of the SeeTheAir AQM v0.1 I I am going to start by using the Flip&Click SAM3X a two-sided development board which is compatible with Arduino IDE. This way I will be able to add more sensors over the time without worrying about connections and expansion. I want to be able to go off-line with the device as a result, I have included a microSD click board which will allow me to data log all the measurements. Finally, for the v0.1 I have chosen an Nitrogen Dioxide NO2 sensor made by Spec-Sensors DGS-NO2 968-043 as this is one of the pollutants that I worry the most nowadays due to dieselgate and the tremendous quantity of diesel cars in the streets. The DGS-NO2 968-043 sensor comes with integrated Temperature & Relative Humidity Sensor.
It isn’t a cheap DIY project in comparison with Luftdaten DIY project and at the beginning it won’t support internet connection (IoT) but I am collaborating with some capable developers, so stay tuned.
Hardware v0.1
- Flip&Click SAM3X
- microSD click board
- Spec-Sensors DGS-NO2 968-043
- Dupont Cables Male to Male
- microSD Card 2GB or more, formated as FAT16/32
- USB Charger or/and USB Power Bank
Hardware Instructions
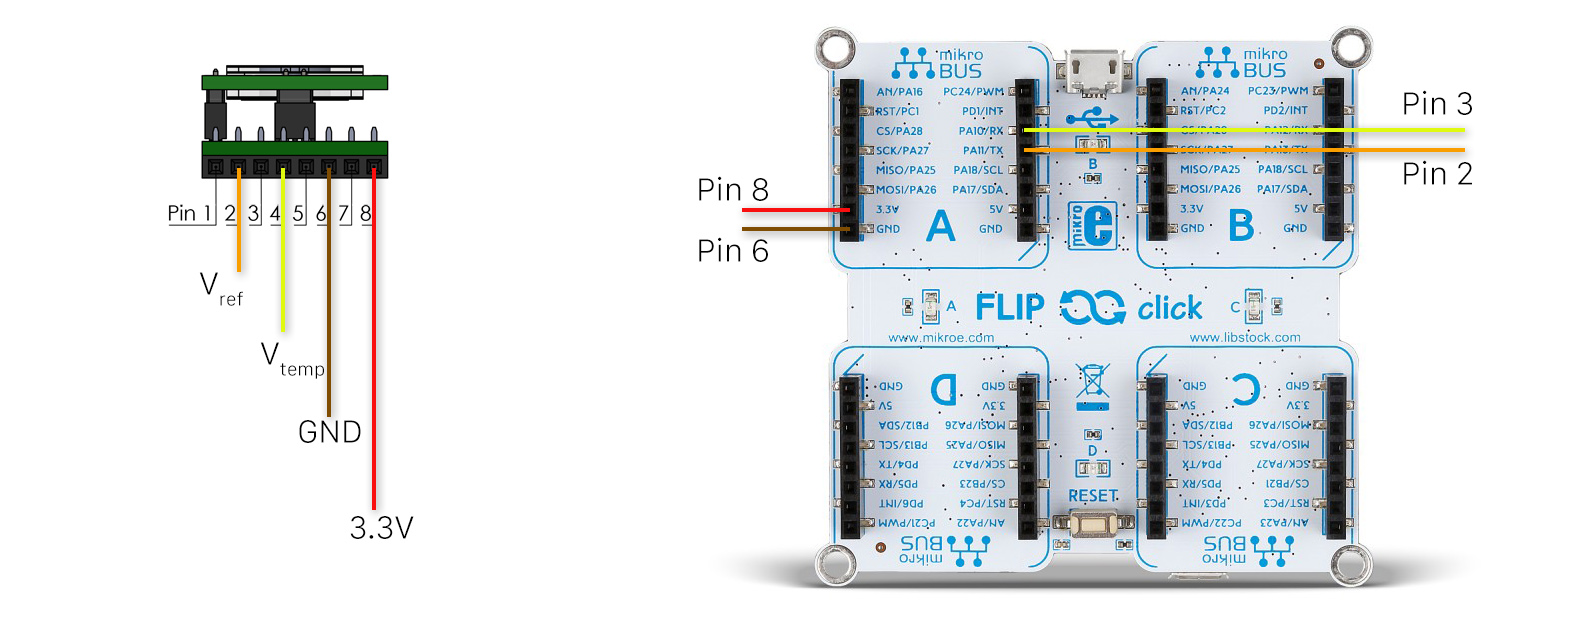
Firstly, you will need to connect the microSD click board to the mikroBUS socket D and insert the microSD card of your choice, this is an easy step but remember if you connect the click board on a different socket it won’t work. Then you will need to connect the DGS-NO2 with the help of 4 Dupont Male-Male cables to the mikroBUS socket A as the diagram explains below (click to enlarge).
Code Instructions
Download and install the Arduino IDE from https://www.arduino.cc/en/Main/Software. Connect your Flip&Click development board via USB to your computer. The development board has two microUSB ports use the one which is next to the power plug and it is called Programming USB port1. Then launch the Arduino IDE and use the code that I provide below.

Get the code from Github here.
To upload the code aka Sketch into the Arduino board click the icon with the right arrow on the top left corner. Then from the Menu: Tools–>Serial Monitor you will be able to see in live what the device and the sensor do.
In case you have a problem with uploading the Sketch go to Menu: Tools–>Port–> and select the dev/cu.usbmodem14101 (Arduino Due (Programing Port)) and also make sure the Menu: Tools–>Board Arduino Due Programing Port is selected too.
What does the Sketch v0.1 do?
It is set to take measurements every 10 seconds and save these measurements to a log file DataLOG.csv inside the SD card. This parameter can be changed by modifying the const int send_delay = 10000; 10000 milliseconds = 10 seconds. Each time the sensor takes a measurement the A LED flashes once on the SAM3X board and when the values are saved to the SD card the D LED flashes once too. Inside the log file you will find the following columns: Temperature, Humidity, NO2 (ppb), a count number and the days-hours-minutes-seconds. Each time the device is restarted a new row will be formed in the existing database.
Facts
A day of data is about 285KB with 8,640 measurements (a sample is taken every 10 seconds) as a result an SD card of 2GB can hold data for up to ~19 years. My power bank which is 10,000mAh (real ~7,000mAh) was able to run the device with the current set up for 30 hours straight.
In the next post I am going to analyse the data that I have collected from the NO2 sensor and talk about how the sensor behaves. Please feel free to make recommendations and share your thoughts.
Discover more from See The Air
Subscribe to get the latest posts sent to your email.
